How To Make A Composter At Home
Turn your kitchen scraps and yard waste into rich, free fertilizer with this complete beginner's guide to home composting — from building your first bin to harvesting finished compost.
30%
of household waste is compostable organic material
2–3 mo
average time to produce finished compost
100%
natural — no chemicals, no plastic, no waste
10×
richer in nutrients than store-bought soil amendments
Free Fertilizer. Zero Plastic. Healthier Planet.
Composting is one of the most impactful things a household can do for the environment. When organic waste goes to landfill, it breaks down anaerobically and produces methane — a greenhouse gas 80 times more potent than CO₂ over a 20-year period. Composting at home redirects that organic matter into a resource that builds soil health and sequesters carbon.
The finished product — dark, crumbly, earthy-smelling compost — replaces chemical fertilizers, improves water retention, feeds billions of soil microbes, and produces stronger, healthier plants. And it costs nothing but kitchen scraps and five minutes of attention each week.
What Goes In — And What Stays Out
Successful composting is built on balancing two types of organic material: nitrogen-rich greens and carbon-rich browns. The right mix keeps your pile active, odor-free, and fast.
Green Materials
Nitrogen-rich — add in thin layers
- 🍌
Fruit & vegetable scraps
Peels, cores, rinds, tops — all ideal
- ☕
Coffee grounds & filters
Excellent nitrogen source; add freely
- 🥚
Eggshells
Add calcium and help aerate the pile
- 🌿
Fresh grass clippings
Mix in thin layers to avoid matting
- 🍃
Fresh garden trimmings
Chop or shred larger pieces first
- 🌱
Tea bags (non-synthetic)
Natural fiber bags break down fully
Brown Materials
Carbon-rich — keep the ratio 25:1 browns to greens
- 🍂
Dry fallen leaves
The most abundant brown material available
- 📦
Cardboard & paper
Tear into small pieces, remove tape
- 🪵
Wood chips & sawdust
Untreated wood only; use in small amounts
- 📰
Newspaper
Shred it for faster breakdown
- 🌾
Straw & hay
Great structural material for airflow
- 🥜
Nut shells
Slow to break down — crush for best results
Keep These Out of Your Compost

Common green and brown materials ready to go into a home compost bin
Build & Run Your Home Composter
Follow these six steps from setup to harvest — regardless of your space, climate, or experience level with composting.
Choose Your Composting Method
Select the approach that fits your space and lifestyle. A simple open pile works well in large gardens. A wooden slatted bin or plastic tumbler bin is ideal for suburban backyards. Worm bins (vermicomposting) work indoors or on balconies. Any method works — the key is consistency.
Pick the Right Location
Choose a spot that gets partial sun and is accessible year-round. Too much shade slows decomposition; too much direct sun dries the pile out. Place your bin on bare soil (not concrete) so beneficial earthworms can migrate in naturally. A level, slightly shaded corner works perfectly.
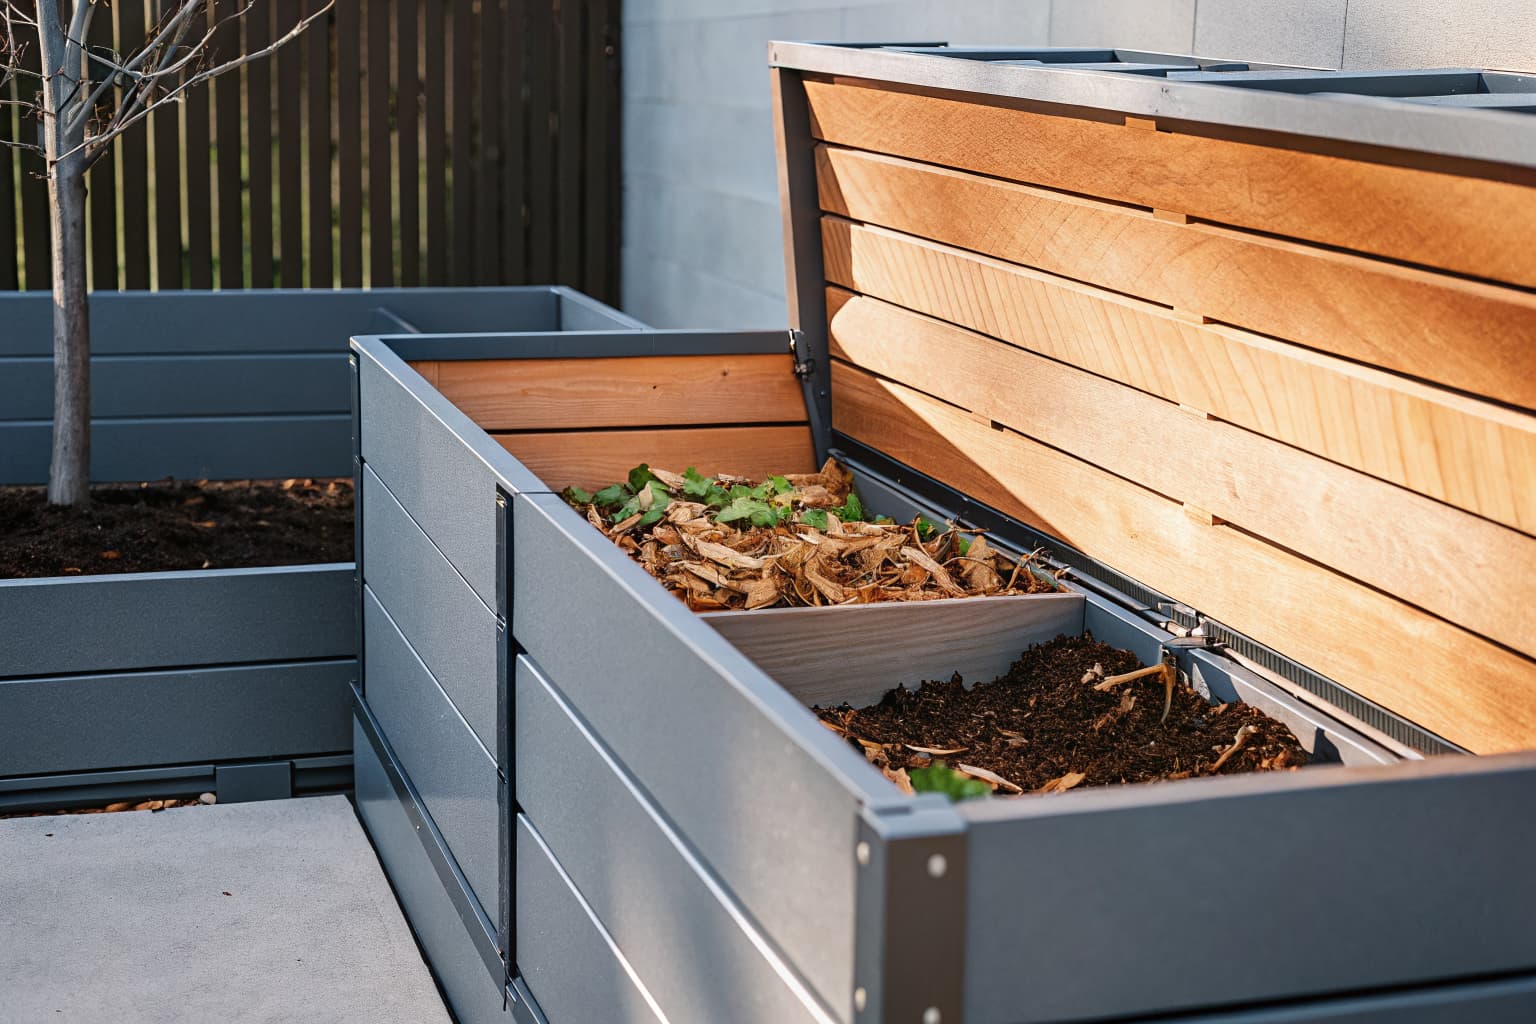
Build Your Bin or Prepare Your Pile
DIY option: Stake four pallets or fence posts into a square 3×3 ft minimum, attach wire mesh or wooden slats on three sides, leave the front open for access. Store-bought option: plastic or tumbler bins are equally effective and easier to manage. Size matters — a bin under 3×3 ft won't generate enough heat to compost efficiently.
Layer Browns and Greens
Start with a 4-inch layer of coarse brown material (sticks, wood chips) for airflow at the base. Add a 2-inch layer of green material. Cover with a 2-inch layer of browns. Repeat. The ideal carbon-to-nitrogen ratio is roughly 25–30 parts brown to 1 part green by weight — but don't overthink it. If it smells bad, add more browns. If it's not breaking down, add more greens.
Maintain Moisture & Aerate Regularly
Your compost pile should feel like a wrung-out sponge — damp but not dripping. In dry climates, water lightly every few days. Cover with a tarp during heavy rain. Turn the pile every 1–2 weeks using a pitchfork or compost aerator, pulling material from the edges into the center. Turning introduces oxygen, which is what beneficial bacteria need to break down organic matter quickly.
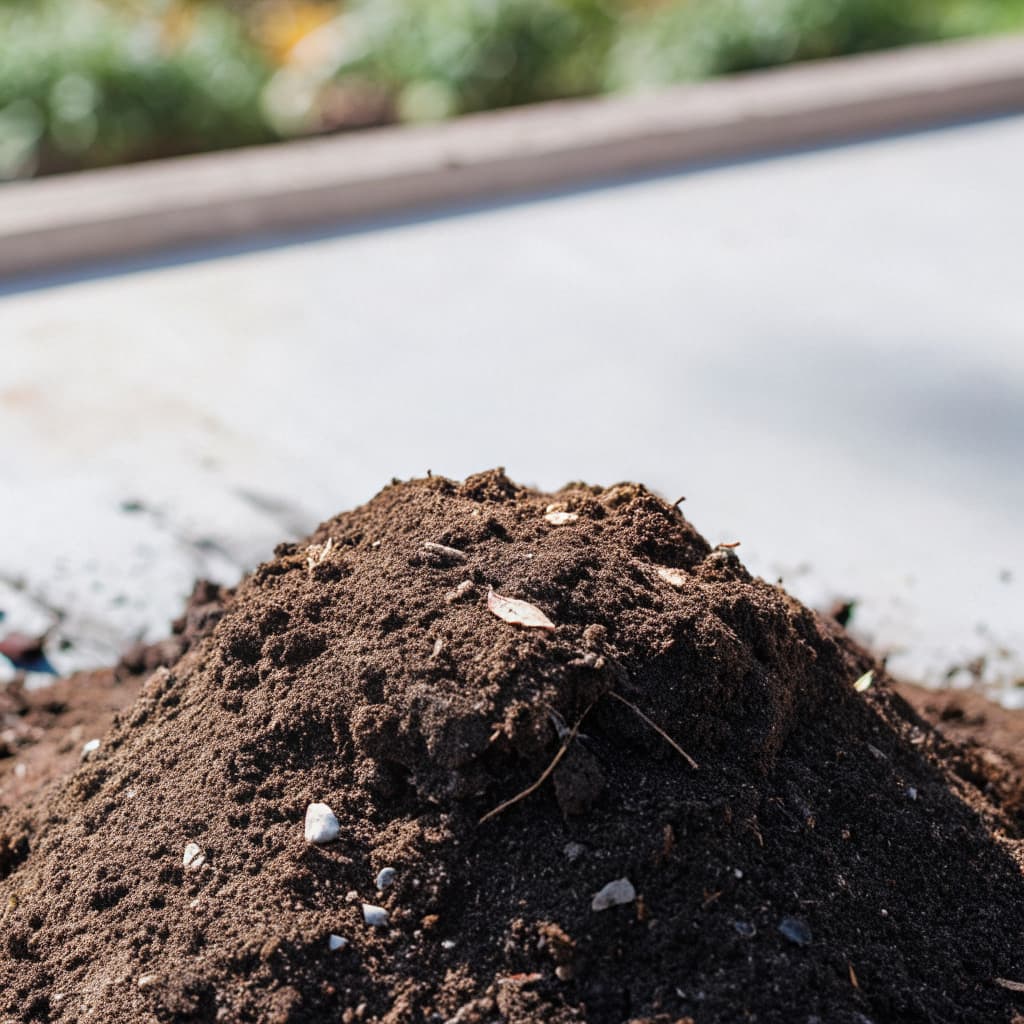
Harvest & Use Your Finished Compost
Finished compost is dark brown, crumbly, earthy-smelling, and shows no recognizable food scraps. This typically takes 2–3 months in an active pile. Stop adding new material, let the pile rest for 2–4 weeks, then sift or scoop the finished product from the bottom. Use it as a soil amendment in garden beds, a top dressing for lawns, or mix into potting soil at 20–30% ratio.
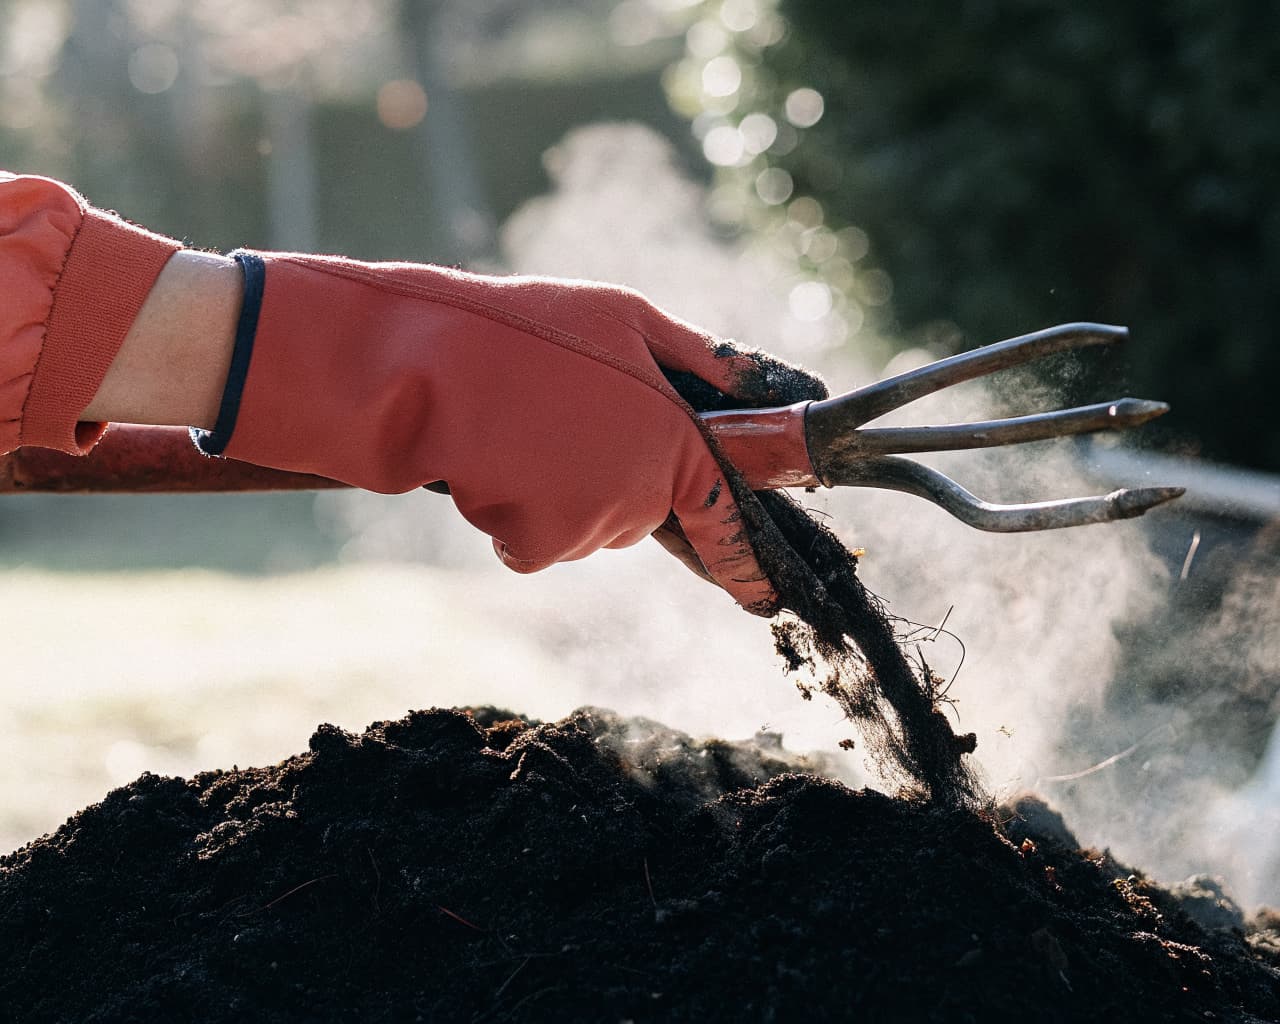
Turning Your Compost Is the Secret
Turning — or aerating — your compost pile is the single most effective thing you can do to speed up decomposition. When you turn the pile, you introduce oxygen that feeds aerobic bacteria, the organisms responsible for breaking down organic matter efficiently and without foul odors.
An unturned pile takes 6–12 months to produce finished compost. A pile turned weekly can be ready in as little as 4–6 weeks. Use a pitchfork, compost aerator, or compost tumbler to move material from the edges toward the center where heat is highest. Aim to turn every 1–2 weeks for best results.
Six Reasons to Start Composting Today
Composting at home creates a measurable environmental impact far beyond your garden.
Improves Soil Structure
Compost binds sandy soils and loosens clay — creating the ideal texture for root growth and water retention.
Feeds Beneficial Microbes
A single tablespoon of finished compost contains billions of beneficial bacteria and fungi that protect and feed plants.
Reduces Water Usage
Compost-enriched soil holds up to 20× more water than depleted soil — meaning less irrigation and drought resilience.
Cuts Household Waste
Up to 30% of household trash is organic waste. Composting keeps it out of landfills where it would produce methane.
Replaces Chemical Fertilizers
Finished compost slowly releases nutrients over months, eliminating the need for synthetic fertilizers that leach into waterways.
Sequesters Carbon
Compost helps soil retain carbon rather than releasing it as CO₂ — a measurable contribution to climate mitigation.
Composting Starts With Compostable Products
Home composting is most effective when combined with compostable packaging. Unlike conventional plastics — which contaminate compost piles and persist for centuries — certified compostable products from Pure Form Solution break down completely alongside your food scraps, returning organic material to the earth with zero toxic residue.
Our PHA and PLA-based cups, lids, straws, utensils, and containers are certified compostable in home composting environments — making them the perfect companion to your backyard composting practice.
Continue Learning
Explore more educational resources about sustainability, plastic pollution, and compostable alternatives.